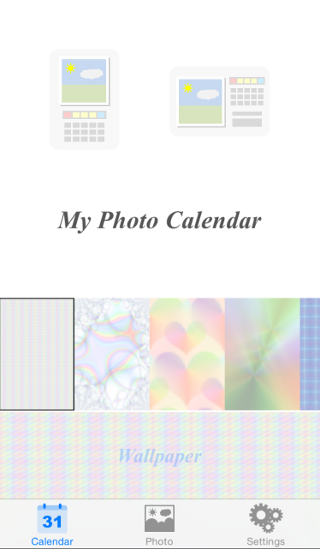
Menu
Immediately after installation, Photo does not contain.
First of all, Add three or more Photos.
Select the bottom of the screen tab "Photo".
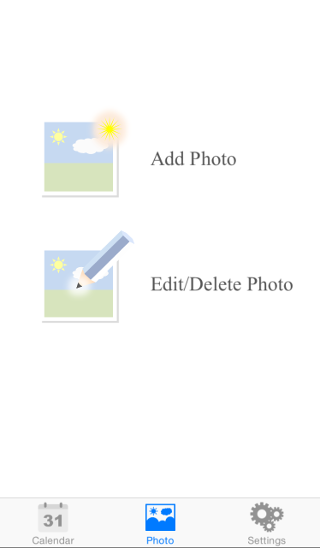
Add Photo - Part1
Tap the "Add Photo" button.
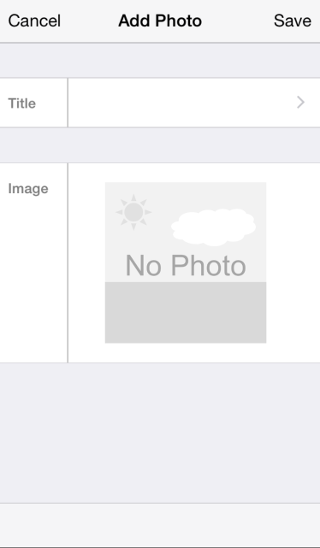
Add Photo - Part2
Tap the pic of "No Photo".
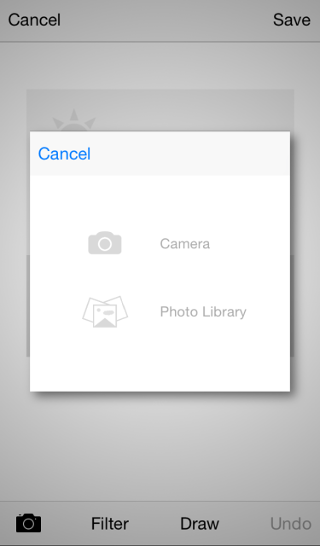
Add Photo - Part3
Select one of the "Photo Library" or "Camera".
In this case, Select the "Photo Library".
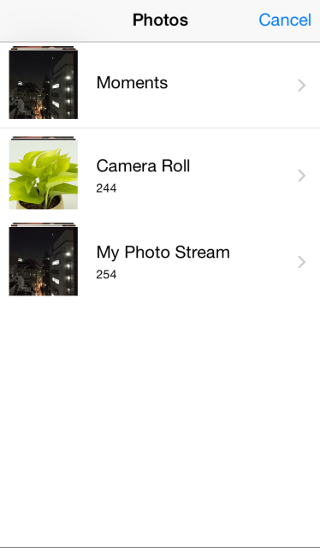
Add Photo - Part4
From the Photo Library, select the photo you want to add.
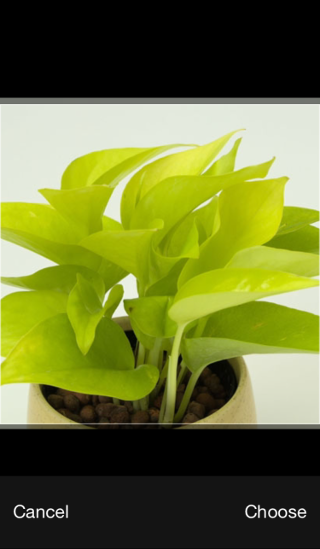
Add Photo - Part5
Cut a square Photo. (To match the size of the calendar)
According to frame the area you want to view.
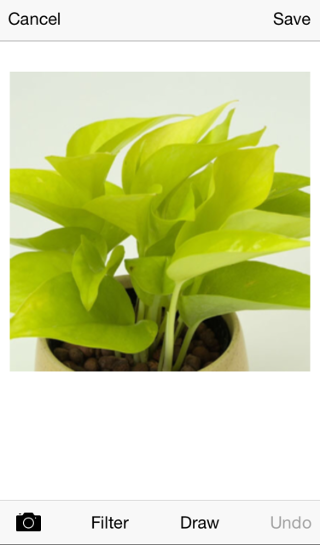
Add Photo - Part6
The Photo was selected.
Next, Tap "Filter" from the button below.
(If you want to display the calendar as it is not anything, please tap "Save" button upper right)
Add Photo - Part7
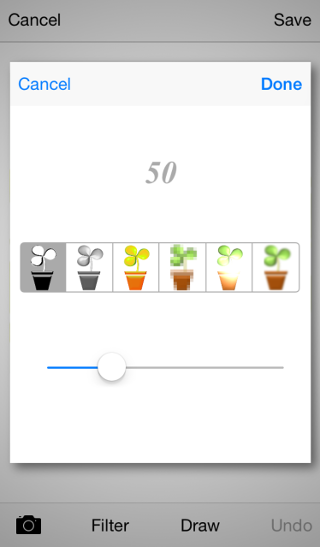
Tap the button on the Filter you want to apply.
Perform the adjustment of the filter with the slider.
Because undoable later, Try several times by setting the appropriate number.
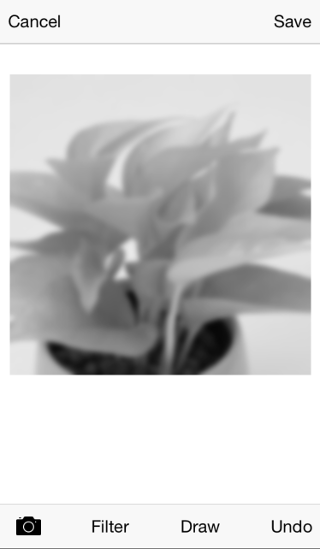
Add Photo - Part8
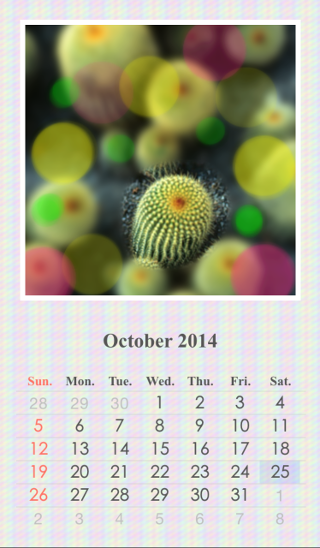
In this example, I tried to apply the "Blur" and "Mono".
(If you start over, Tap the "Undo")
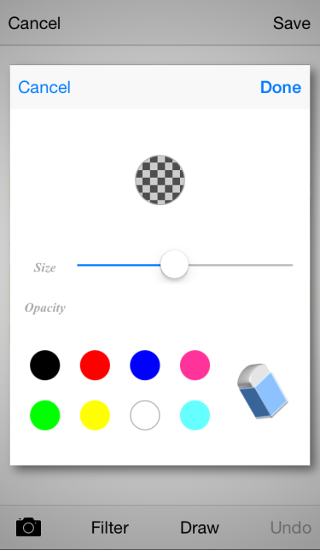
Next, Tap "Draw" button.
Add Photo - Part9
Eraser is selected by default. Adjust the size slider.
If you select a color, you can adjust the opacity and size.
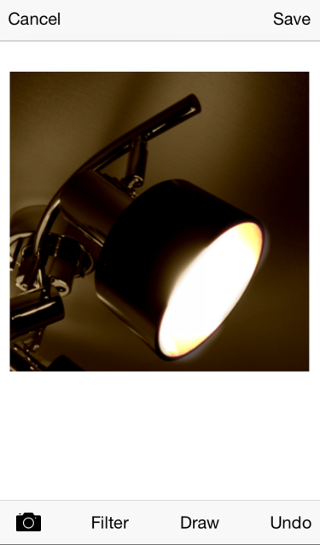
Add Photo - Part10
It is a result that I turn off the part of the Filter.
If you want to save, Tap the top right "Save" on.

Add Photo - Part11
Similarly, I drew in the "Sepia" filter.
Use the drawing tools and various filters, Try in various ways.
Calendar - Portrait orientation
Additional Photos will be displayed in a slide show.
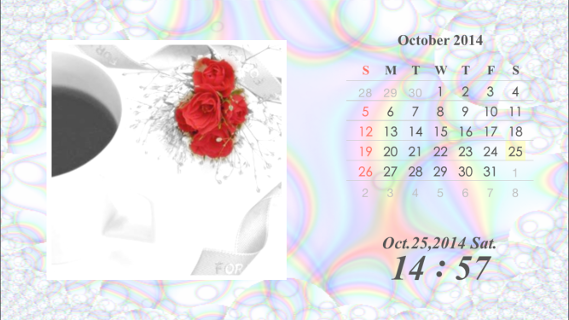
Calendar - Landscape orientation
Additional Photos will be displayed in a slide show.